How to Care for Diecast Aircraft Models: Cleaning, Storage & Display

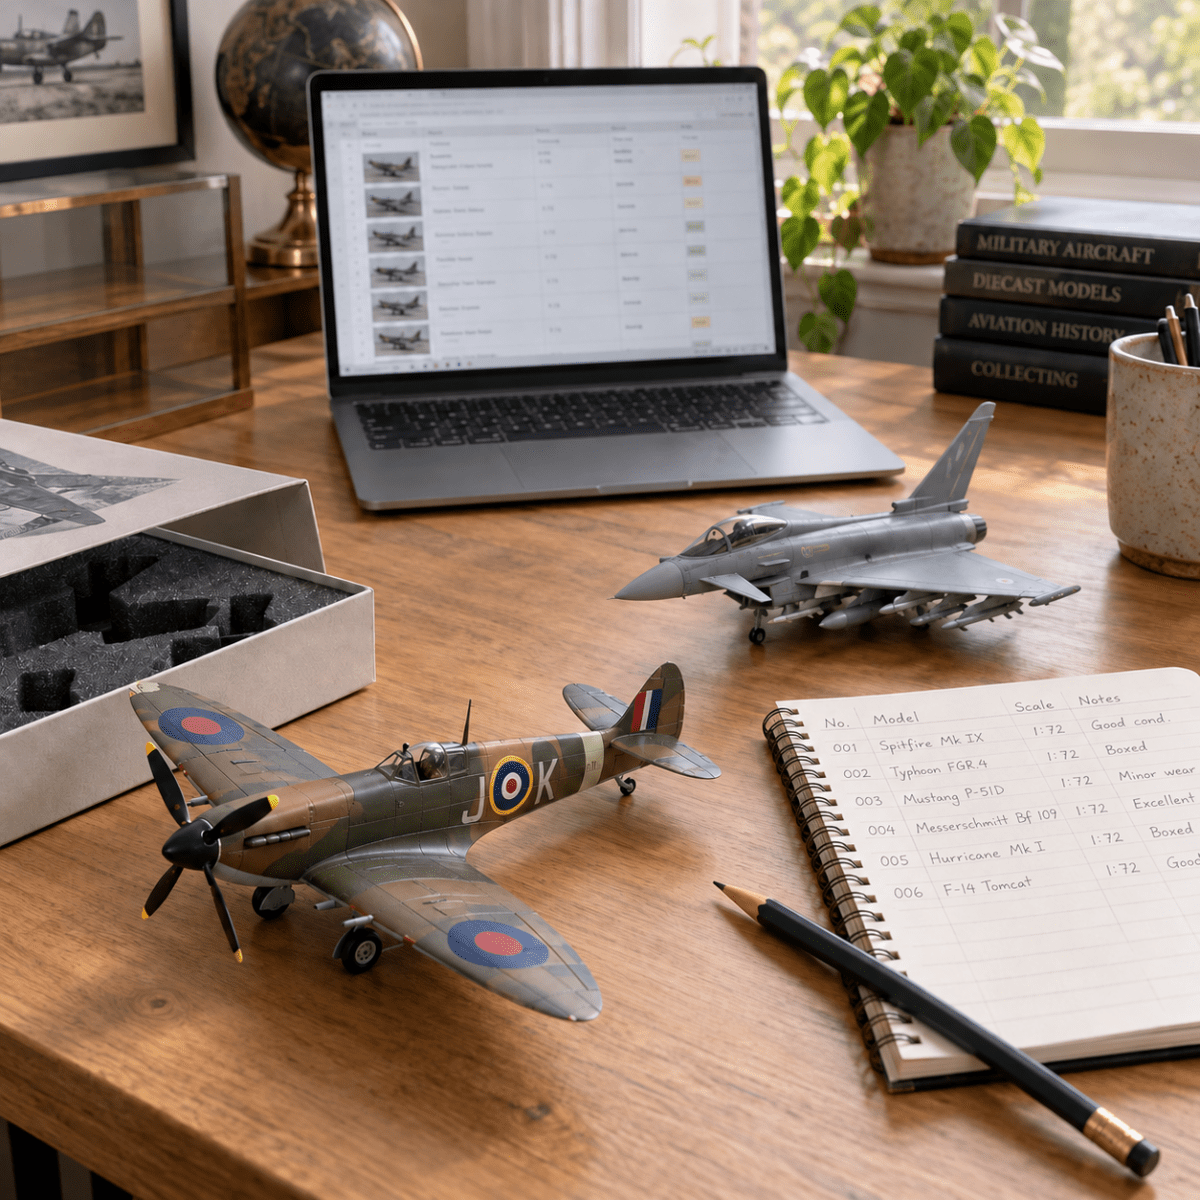
Diecast aircraft models can remain attractive display pieces for many years, but their painted surfaces, fine components and original packaging require careful handling. Dust, direct sunlight, unsuitable storage and repeated removal from packaging can all affect a model’s appearance and condition over time.
Good care does not require specialist equipment or frequent cleaning. In many cases, the safest approach is simply to handle the model as little as possible, keep it in a stable environment and inspect it periodically for developing problems.
This guide explains how to clean, handle, display and store diecast aircraft models while protecting their paintwork, accessories, certificates and original packaging.
For help assessing an existing model, see our diecast aircraft condition grading guide and our guide to common diecast aircraft problems and repairs.
Handle the Model as Little as Necessary
Many instances of damage occur while a model is being removed from its box, repositioned in a cabinet or passed between people.
Before handling a model:
- Wash and dry your hands thoroughly
- Clear a stable working surface
- Place a soft, clean cloth or foam sheet beneath the model
- Remove jewellery that could scratch the paint
- Make sure loose accessories cannot fall onto the floor
Clean, dry hands usually provide better control than loose-fitting gloves. Gloves can reduce grip and may catch on aerials, pitot tubes, undercarriage or other fine parts.
Where Should a Diecast Aircraft Be Held?
Support the aircraft by a strong central section of the fuselage wherever possible. Larger or heavier models may need to be supported with both hands.
Avoid lifting a model by:
- Wings or wing tips
- Propellers or spinners
- Tailplanes or stabilisers
- Canopies
- Undercarriage legs
- Missiles, pylons or fuel tanks
- Aerials, antennas or pitot tubes
Even when these parts feel secure, they may be attached using very small locating pins or a limited amount of factory adhesive.
How to Dust a Diecast Aircraft Model Safely
Dust is easier to remove when it has not been allowed to build up over a long period. However, frequent unnecessary cleaning also increases the risk of catching or bending delicate components.
For light dust, use a clean, very soft brush. A soft cosmetic brush or specialist model-cleaning brush can work well, provided it has not previously been used with powders, oils or cleaning products.
Brush gently in the direction of projecting parts rather than pushing against them. Pay particular attention around:
- Aerials and antennas
- Pitot tubes
- Propellers
- Undercarriage
- Weapons and pylons
- Canopies
- Hinged or moving components
Do not apply pressure to remove dust from panel lines or recessed areas. A small amount of settled dust is preferable to a scratched surface or broken component.
Should Compressed Air Be Used?
Canned compressed air should be used with considerable caution. The force can detach small parts, move loose accessories or blow dust further into the model. Some cans may also release cold propellant or moisture when tilted.
A gentle manual air blower, used from a sensible distance, is usually safer for shifting loose dust from areas that cannot be reached with a brush. Never direct strong airflow towards aerials, undercarriage or removable weapons.
Avoid Household Cleaning Products
General household cleaners are not designed for painted diecast models. They may react with paint, clear plastic, decals or printed markings.
Avoid using:
- Furniture polish
- Glass cleaner
- Disinfectant sprays
- Alcohol-based cleaners
- Solvents
- Abrasive cloths or pads
- Wet wipes
- Metal polish
Water should also be used sparingly. It can enter seams, screw holes and moving parts, while moisture left around metal components may cause staining or corrosion.
For most collectable models, dry dusting is the safest routine method. More involved cleaning should only be considered when the material, finish and cause of the mark are fully understood.
Cleaning Clear Canopies
Clear canopies can become marked by dust, fingerprints, packaging contact or previous handling. They are also particularly vulnerable to scratching and chemical damage.
Use a clean, soft, lint-free cloth with almost no pressure. Avoid repeatedly rubbing one area, especially when dust is still present, as small particles can scratch the clear surface.
Do not use window cleaner or abrasive plastic polish unless the canopy material and surrounding finish have been properly assessed. A polishing attempt can create distortion, clouding or damage to painted canopy frames.
White fogging around a canopy may be evidence of a previous superglue repair. This is different from ordinary surface dirt and may not be safely removable.
Choose a Suitable Display Location
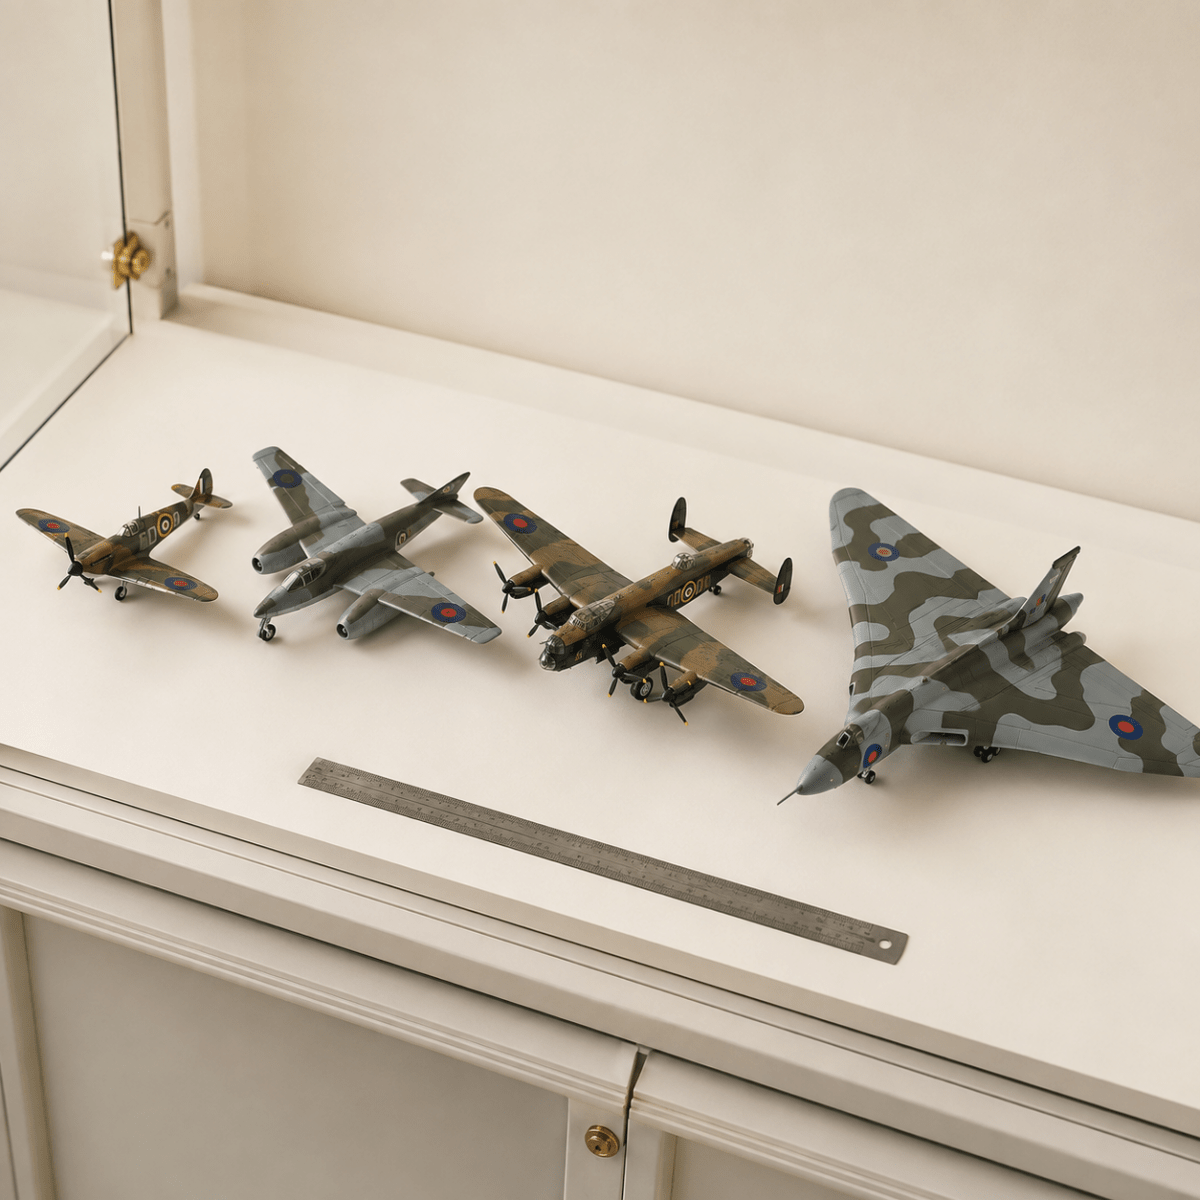
A display cabinet offers the best protection against dust, accidental handling and falling objects. It will not, however, protect the model from every environmental risk.
Choose a display position away from:
- Direct sunlight
- Radiators and heaters
- Frequently opened windows
- Damp exterior walls
- Kitchens and cooking residue
- Areas where the cabinet may be knocked
- Strong artificial lights that generate heat
Make sure the cabinet shelf is level and able to support the combined weight of the models. Large 1:32 and 1:48 aircraft can be considerably heavier than they appear.
Protect Models From Direct Sunlight
Long-term exposure to direct sunlight can contribute to fading, yellowing and changes in colour. This may affect:
- Painted surfaces
- Printed markings
- Clear canopies
- Display-stand nameplates
- Box artwork
- Certificates and instructions
UV-filtering glass or film can reduce exposure, but the safest approach is still to position the collection away from direct sunlight.
Maintain Stable Storage Conditions
Models and packaging are best kept in a reasonably stable indoor environment. Extreme heat, damp and repeated changes in temperature can place stress on paint, adhesives, plastic parts and cardboard packaging.
Avoid long-term storage in:
- Lofts or attics
- Garages
- Sheds
- Damp basements
- Conservatories
- Storage units without climate control
These locations can experience large changes in temperature and humidity. Cardboard boxes may absorb moisture, become distorted or develop staining, while plastic trays and adhesive joints can also be affected.
A stable room inside the home is normally preferable. Models should not be stored directly against a cold wall or on the floor, where they may be more exposed to damp or accidental damage.
Displaying Models on Their Undercarriage
Some collectors prefer to display aircraft with their landing gear fitted, while others use the supplied display stand.
Before placing a heavy model on its undercarriage, check that:
- All locating pins are fully inserted
- The legs are correctly aligned
- The wheels are secure
- The undercarriage doors are not bearing the model’s weight
- The shelf is level
- The model does not lean to one side
Do not force a component into a mounting hole. Similar-looking undercarriage parts may have different pin sizes or may belong to another release.
If the undercarriage is loose, damaged or incomplete, the correct display stand may provide safer support. A model should not be left resting on a partially fitted landing-gear assembly.
Using the Display Stand Safely
Check that the stand is intended for the model and that the support fits correctly before releasing the aircraft.
Do not assume that every stand from the same manufacturer is interchangeable. Stand fittings can vary according to:
- Aircraft size
- Model weight
- Release period
- Scale
- Mounting-hole shape
- Support-arm design
The model should sit securely without excessive force. If the support has to be pushed firmly into the aircraft, stop and confirm that it is the correct stand.
Periodically check older plastic stands for cracks, bending or looseness, particularly where they support larger aircraft.
Removing a Model From Blister Packaging
Tight-fitting internal packaging can cause paint rubbing or catch delicate components if the model is removed too quickly.
This is particularly important with some Hobby Master aircraft, where the model may sit closely within a clear moulded tray.
When opening blister packaging:
- Lay the box flat on a stable surface
- Remove the upper tray slowly and evenly
- Check whether any aerials or accessories are caught
- Identify a strong section of the fuselage to hold
- Lift the model without dragging its wings against the tray
- Check the packaging for loose parts before setting it aside
Do not pull the aircraft upwards by its wings, canopy or tail. If the model feels trapped, inspect the moulded packaging carefully rather than applying more force.
More information about paint rubbing, missing accessories and packaging-related damage can be found in our common diecast aircraft problems guide.
Storing Models in Their Original Boxes
Original packaging usually offers the best-fitting support for a model, but only when all trays and inserts remain in good condition.
Before returning an aircraft to its box:
- Confirm that removable parts are in their correct compartments
- Check that no component is trapped beneath the tray
- Make sure aerials and weapons are clear of the packaging
- Inspect the tray for cracks or sharp edges
- Check that fixing screws are not overtightened
- Ensure protective sheets are positioned correctly
Do not add tightly packed material directly against painted surfaces for long-term storage. Extra padding can create pressure points or rub against the finish.
If the original tray is damaged, the model may need additional external support before transportation. The box alone should not be relied upon when the internal packaging no longer holds the aircraft securely.
Protecting the Original Box
The original box is an important part of many collectable diecast aircraft models. It protects the model, identifies the exact release and stores its accessories and paperwork.
To reduce box wear:
- Store boxes upright where their construction allows
- Avoid placing heavy boxes on top of smaller ones
- Keep them away from direct sunlight
- Do not pull a box from a shelf by its opening flap
- Support larger boxes with both hands
- Avoid adhesive tape and labels on the printed surface
- Keep boxes away from damp floors and exterior walls
Clear protective outer boxes or suitable storage sleeves can reduce surface rubbing, but they should fit without compressing the original packaging.
Packaging condition should always be assessed separately from model condition. A model may remain excellent even where the box has noticeable edge wear, paper loss or creasing.
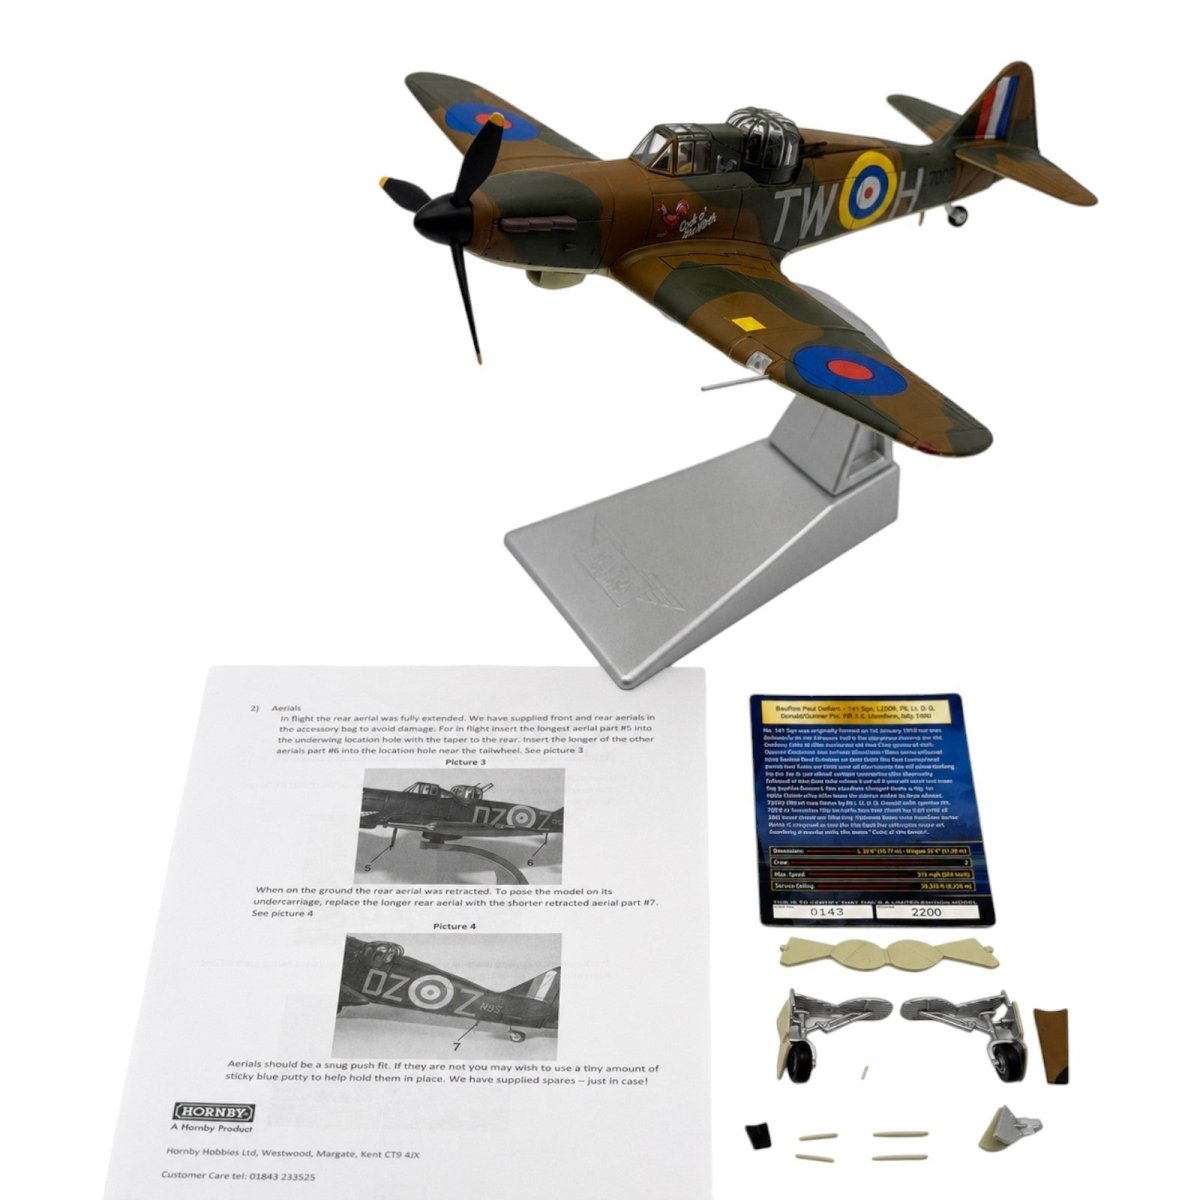
Store Certificates and Instructions With the Correct Model
Certificates, collector cards and instructions can easily become separated when several models are displayed at the same time.
Where practical, keep all paperwork inside the correct box. If it is displayed separately, record the corresponding product code.
Archival-quality sleeves can help protect certificates from handling, but avoid attaching labels or adhesive directly to the original card.
For individually numbered models, the certificate may record:
- The individual edition number
- The total stated production run
- The aircraft’s historical background
- The pilot or squadron represented
- The model’s product reference
Our guide to limited-edition diecast aircraft certificates and numbering explains this in more detail.
Keep Small Accessories Organised
Undercarriage pieces, doors, missiles, bombs, fuel tanks, pilots and fixing screws are easily lost.
Keep accessories:
- Inside their original labelled bags where available
- In the correct recess within the packaging
- Separate from accessories belonging to other models
- Away from children and pets
- Clearly labelled with the corresponding product code
Do not assume that similar-looking parts are interchangeable. Differences in colour, markings, shape and locating-pin size can identify them as belonging to another release.
Completeness can influence collector value, so even an accessory not required for the chosen display configuration should be kept safely.
Inspect the Collection Periodically
A model does not need to be cleaned frequently, but it is sensible to inspect the collection periodically.
Look for:
- New paint bubbling or cracking
- Paint rubbing against packaging
- Loose aerials or antennas
- Leaning or damaged undercarriage
- Clouding around repaired parts
- Warped plastic trays
- Damp, staining or mould on boxes
- Cracking or distortion in older metal castings
Photographs can provide a useful comparison if you are uncertain whether a defect is changing over time.
Paint cracking should not automatically be assumed to be zinc rot. However, cracking accompanied by distortion, swelling or structural weakness should be investigated more carefully.
Moving or Transporting a Collection
Moving a collection presents a greater risk than ordinary display because models can shift inside their packaging.
Before transport:
- Remove loose accessories from the aircraft
- Place each part in its intended compartment
- Check that the internal tray closes without pressure
- Support damaged internal packaging
- Place original boxes inside stronger outer cartons
- Use sufficient void fill around the boxes
- Keep heavy models beneath lighter items
Do not allow fixing screws, stands or metal accessories to move freely inside the box. A loose component can cause significant paint damage during transport.
After moving the collection, inspect each box before lifting out the aircraft. A component may have become detached during the journey.
What Should You Do If Damage Is Found?
Do not rush into a repair. First photograph the defect and check whether the affected component is removable, replaceable or intended to move.
Keep any detached original part, even when it cannot immediately be refitted. The original component may be preferable to a reproduction or part taken from another model.
Before attempting a repair, consider:
- The rarity and value of the model
- Whether the original part is present
- The material being repaired
- The risk to surrounding paint
- Whether the repair can be reversed
- Whether specialist advice would be safer
A small, honestly described imperfection may be preferable to an obvious repair involving excess glue, mismatched paint or misaligned parts.
Quick Diecast Aircraft Care Checklist
- Handle the aircraft by a strong central part of the fuselage
- Dust gently with a clean, soft brush
- Avoid household cleaning products and solvents
- Keep models away from direct sunlight and heat
- Use stable shelves and correctly fitting display stands
- Remove models from blister packaging slowly
- Store accessories and certificates with the correct model
- Protect boxes from damp, crushing and surface rubbing
- Inspect the collection periodically for developing problems
- Document damage before attempting any repair
Final Thoughts
Caring for a diecast aircraft collection is mainly about preventing avoidable damage. Gentle handling, stable storage and protection from dust and sunlight will usually provide greater benefit than frequent cleaning or unnecessary maintenance.
Pay particular attention when removing models from tight packaging, fitting undercarriage and handling small accessories. These are the moments when paint rubbing, missing parts and accidental breakages are most likely to occur.
Original boxes, certificates and accessories should be treated as part of the complete model set. Keeping everything organised and documenting condition will help preserve both collector appeal and value.
You can browse our current diecast aircraft model collection, explore Corgi Aviation Archive models and Hobby Master aircraft, or discover more advice through our collector guides and histories.

Written by Jay Sawyer