Article: The process of creating diecast models
The process of creating diecast models
1. Design
-
The process starts with a 3D design using CAD software.
-
Every part—body, wheels, interior—is planned out in detail, often based on real vehicles.
2. Tooling & Mould Making
-
A metal mould (die) is created, usually from hardened steel.
-
This mould has cavities shaped exactly like the car parts and is made in two halves.
3. Die Casting
-
A zinc alloy (commonly Zamak) is melted down.
-
The molten metal is injected into the mould under high pressure.
-
It quickly cools and solidifies into the shape of the car body or other parts.
-
The part is removed, and the mould is reused repeatedly.
4. Cleaning & Polishing
-
Any excess metal from the casting process is trimmed off.
-
Parts are polished or sanded to smooth out imperfections.
5. Painting
-
Models are painted in layers—primer, base coat, clear coat.
-
Tampo printing is used for detailed markings like logos, lights, and racing stripes.
6. Assembly
-
Diecast metal parts are combined with plastic, rubber, and sometimes fabric components.
-
Parts like interiors, dashboards, windows, tires, and engines are assembled.
-
Moving parts like opening doors, hoods, and steerable wheels are added here.
7. Quality Control & Packaging
-
Each model is checked for paint flaws, loose parts, and accuracy.
-
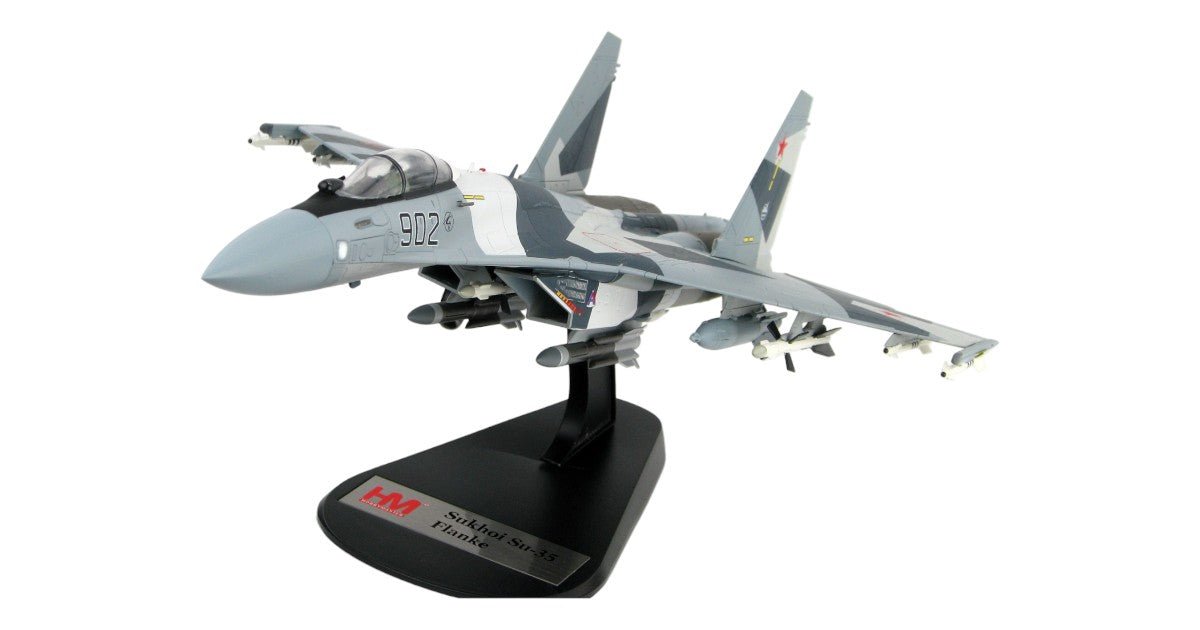
Once approved, it's packaged with a collector box and a display stand.